Hi, all - a common question we get from admins is how to create a vanity URL (a shortened URL with an easy-to-remember path) for certain pages that they may be promoting via print or other marketing collateral. The good news is that for most pages, this is a built in feature - in our jargon, we call the field where you would add the vanity URL's name the pagecode. If you go into the setup of any page on the site, you will see this field, here:
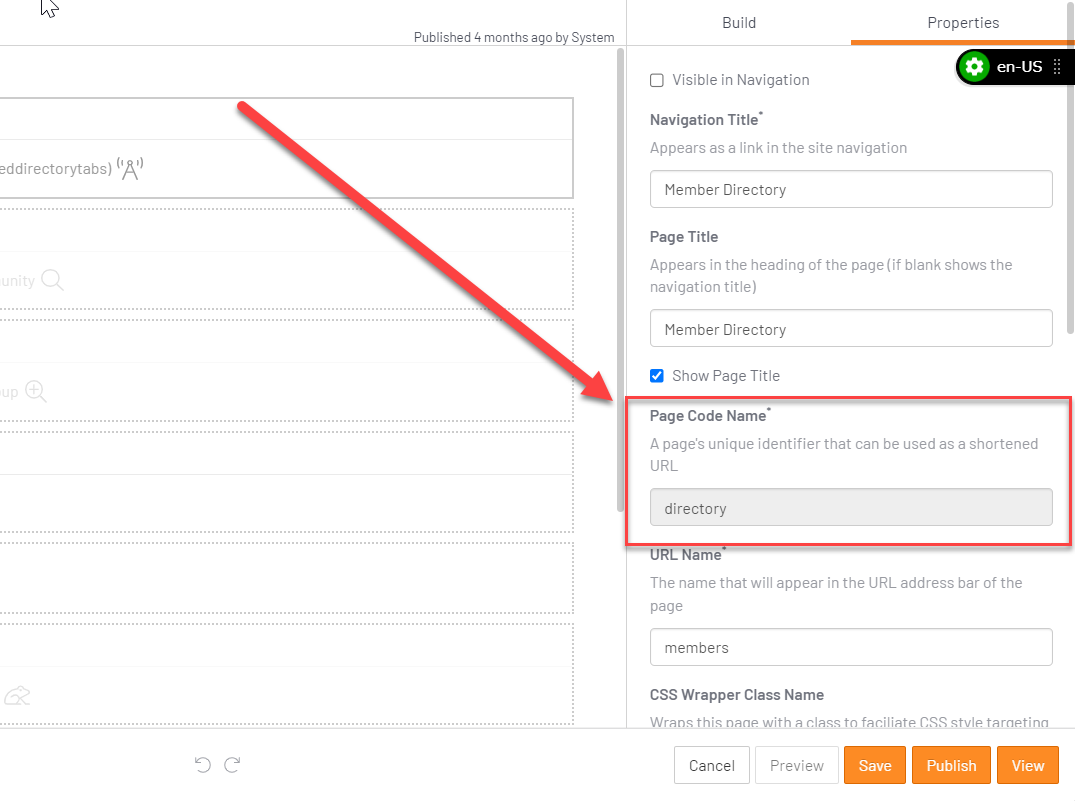
That means that in this case, if you simply put http://hug.higherlogic.com/blogs into your URL address bar, you'll go to our blogs page, here. As you can see when you click on that link, the actual URL path is https://hug.higherlogic.com/browse/blogs, but because the pagecode was entered in the page setup section, you can get there both ways. Super easy!
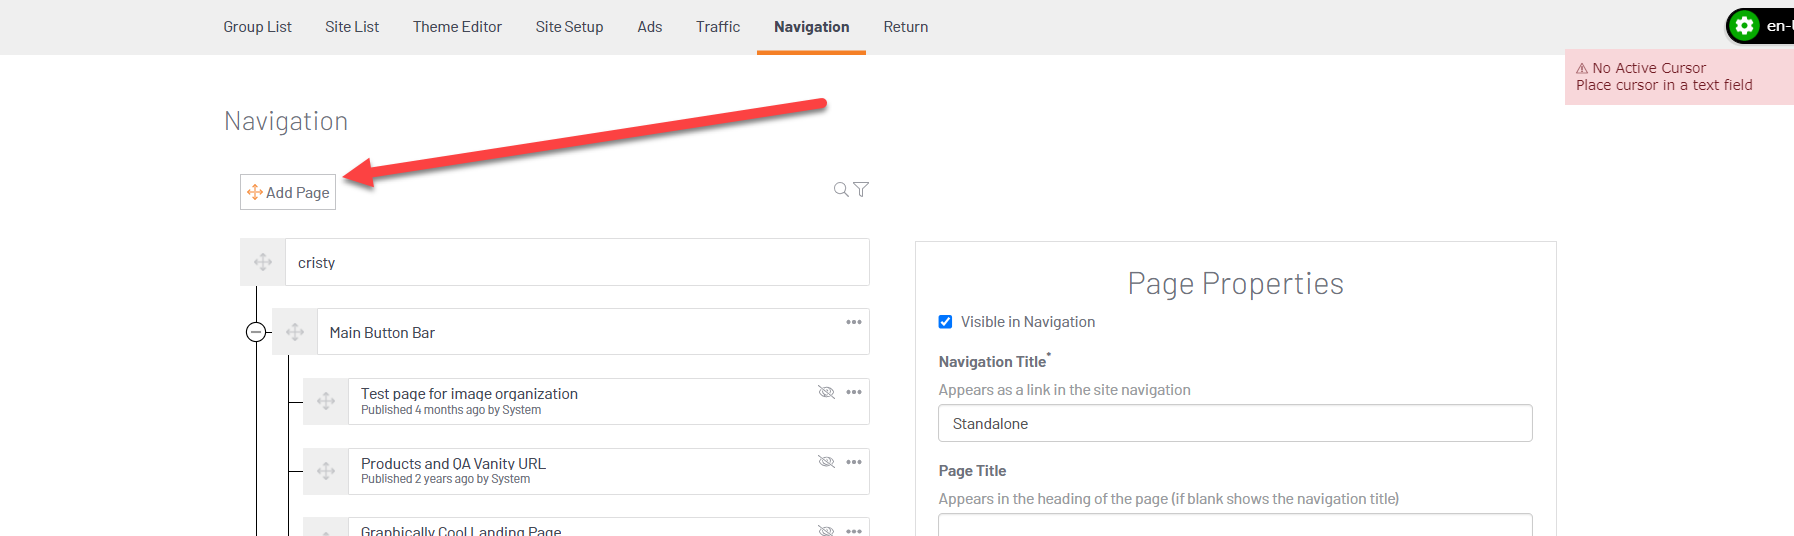
So let's step it up a notch - what do you do if want, for example, a vanity URL for a page that serves as template for a bunch of other pages, like the community landing page? This will take a couple more steps, but still relies on the pagecode to work. The first step is to create a new page by going to Edit Navigation and creating a new page in the Navigation section:
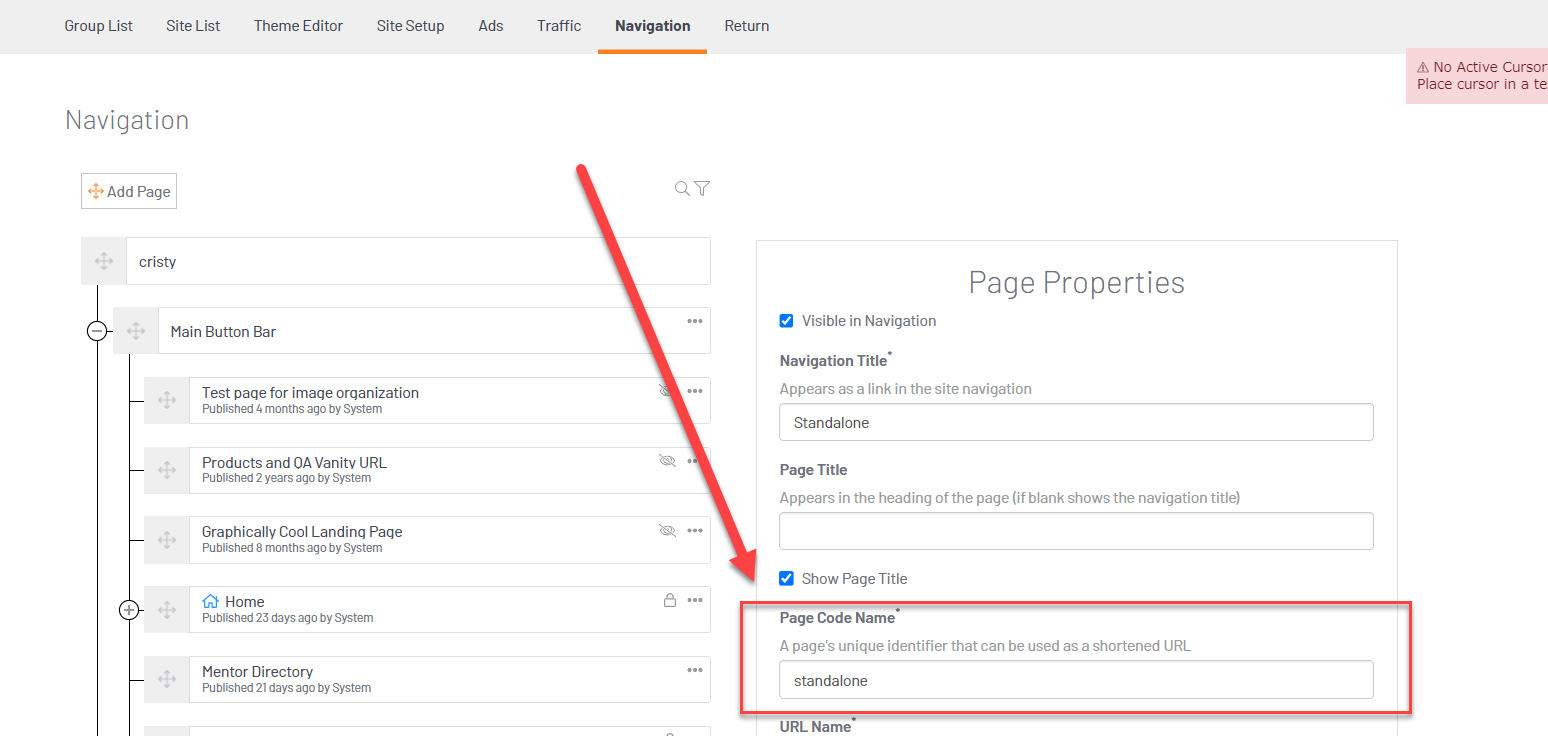
This will create a new page, and you can name it whatever makes sense to you. Once you do that, click the Edit button and put in your desired vanity URL in the pagecode section, as below:
Click Publish to publish your settings. The next thing you're going to want to do is figure out where you want this to go. In my case, I'd like http://www.higherlogic.com/productqa to go to the community link at https://hug.higherlogic.com/communities/community-home?CommunityKey=8bbaa56f-925d-4dc9-baaa-9e7243121d90, so I'm going to copy that hyperlink or keep it somewhere accessible as we go to the next step.
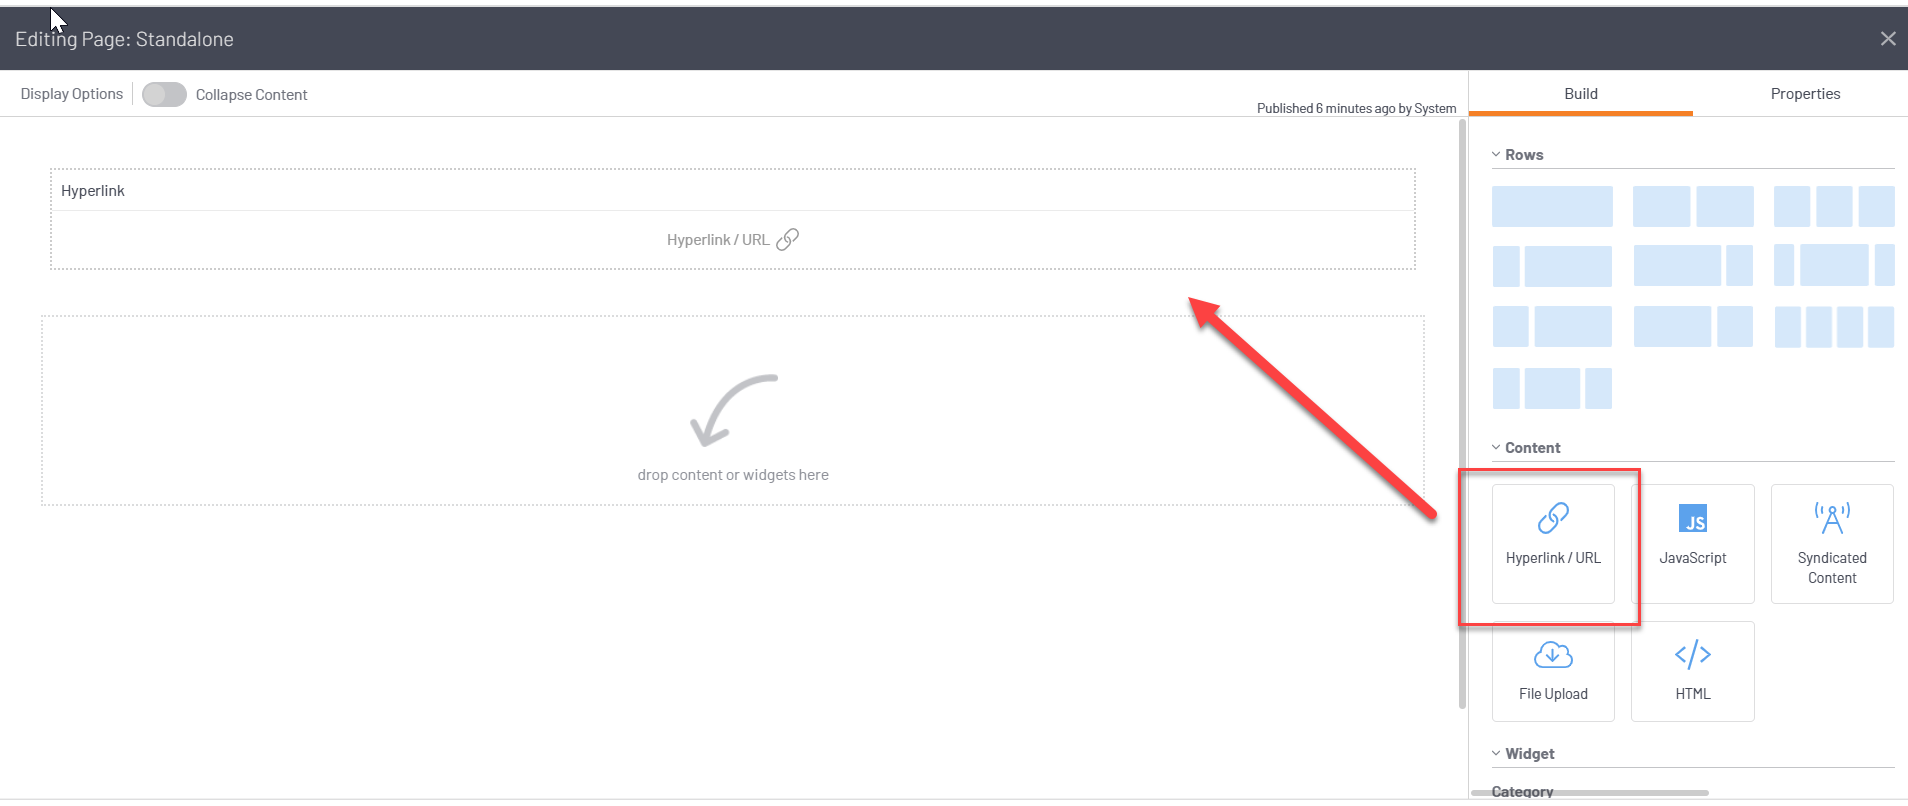
Next, I'm going to go to my newly-created redirect page and create a new hyperlink content item by dragging and dropping it from the right hand side onto the page:
Edit that content item to be a redirect by inputting your desired target address:
Once that's done, you can click Save, then Publish to make the change live, and your vanity URL will be all set - voila!
#Advertising #Example #How To