If you know me at all, you know that I am a lover of "the workaround." My Executive Director loves to dream the dream, and then come ask me "Can you do that?" and all too often I have to tell her that technically a system doesn't just "do that." But this week she asked me if I could add some photo albums of our past annual conferences, and I got to tell her that "YES! Our HigherLogic site can DO THAT!" It took a little digging to find the easy way to do it--and so since I undertook the excavation, I wanted to share it with you!
HigherLogic is built on the Bootstrap foundation, so I did a little research and found out that there are extensions for Bootstrap that can do a gallery for you. The blueimp Bootstrap Image Gallery is a good example--and from what I can see, it's free! But I continued to dig and discovered that Bootstrap is actually able to pretty easily make a thumbnail gallery using its grid system. I don't want to use techno jargon, but it involved a little bit of easy HTML and you can do it yourself!
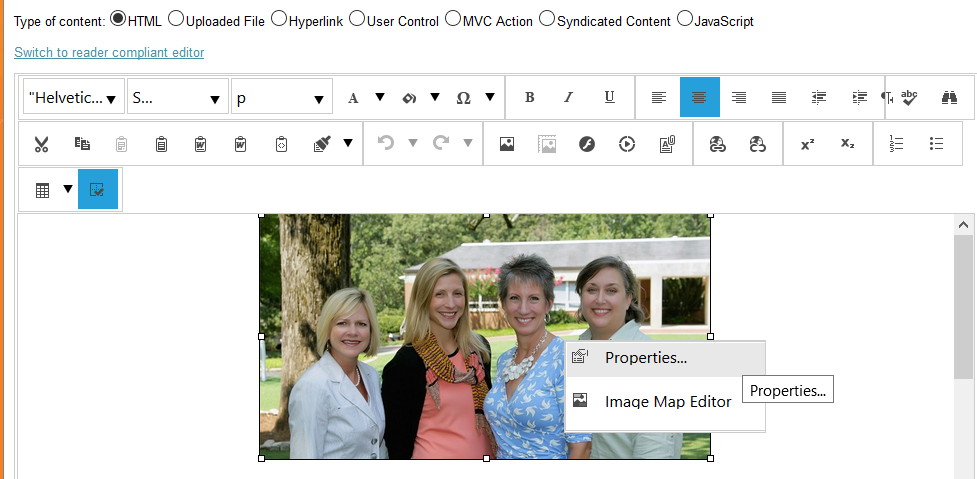
First, you need to load the images into HigherLogic's Image Manager and get the link for the images you want to use. I am going to assume that you know how to load images, but if you have any questions about that, you can email me at coordinator@aisap.org and I'd be happy to help you with that. The easiest way to find the image's line, to me, is to insert the image on any page (temporarily) and then click on Properties:
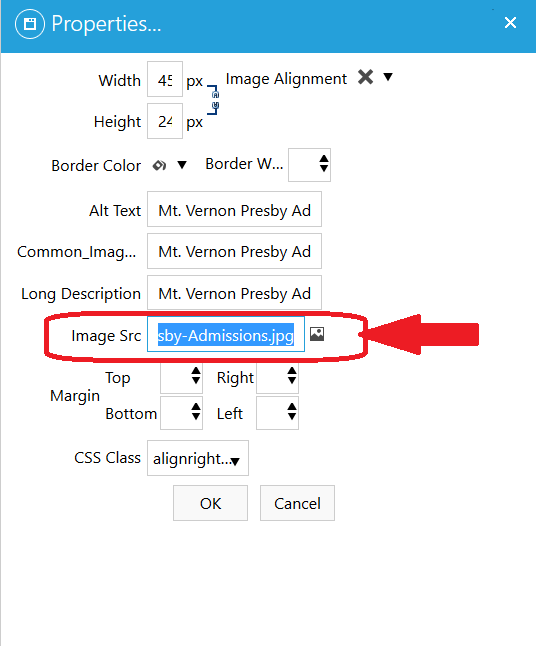
In the Properties Box that opens, here is the image's link:
You are going to want to get the link of every single image you want to use, but you will begin to notice a pattern, and that will help! Keep the list of these links together in one document or notepad.
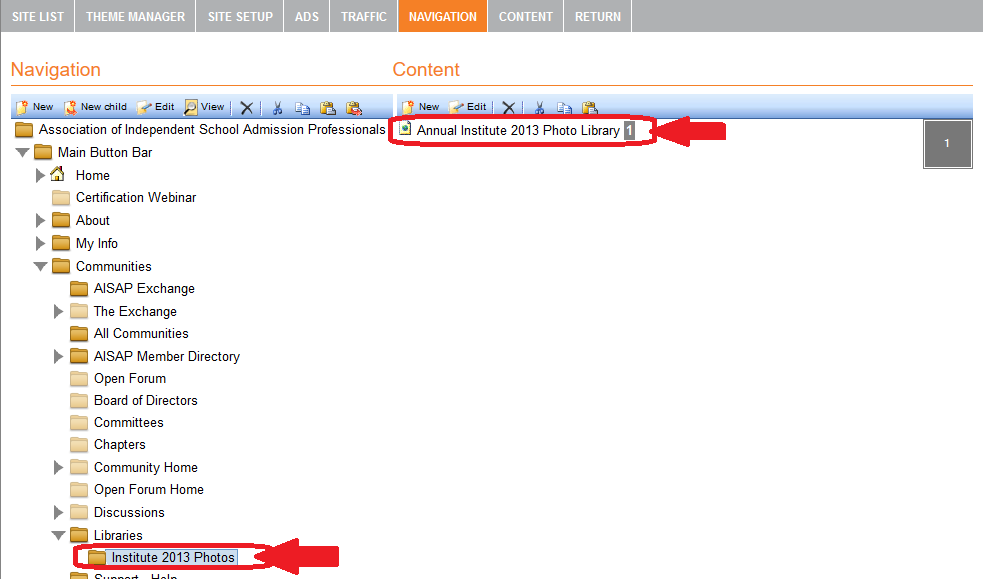
Second, you will need to create a page for your photo album. I will assume you know how to add a page to your site, but just as a reminder, here's what I mean:
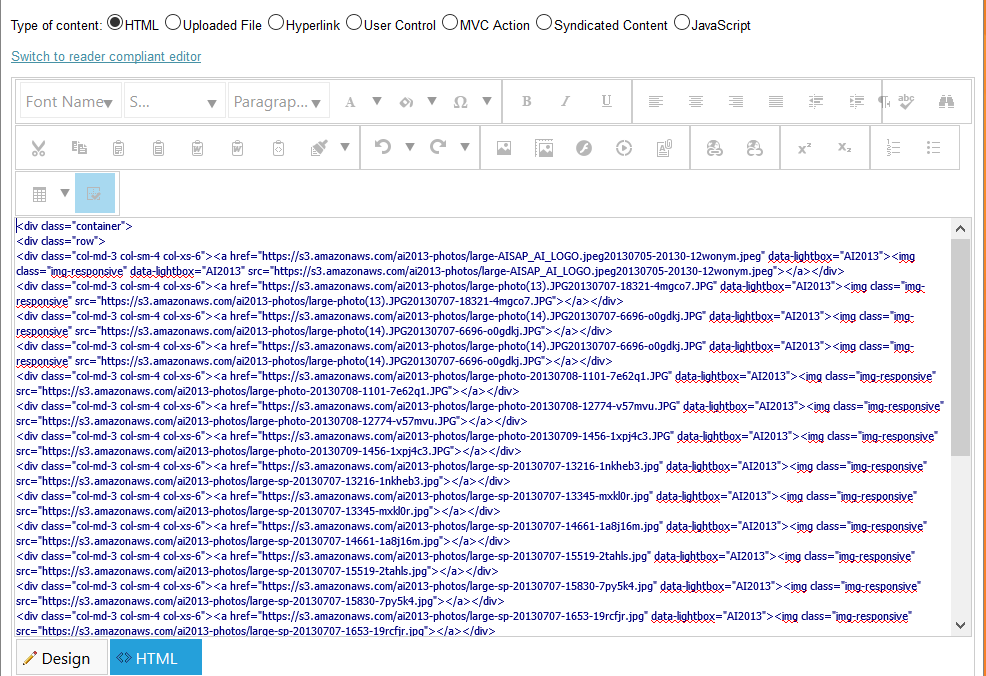
Open the photo album page you are creating (click the Content Edit) and set up the page so that the content type is HTML and then click the HTML tab next to Designer. Yours will be empty except for <br> but it will eventually look something like this:
Third, you program some HTML! Now the fun part! In this HTML tab of your page you are going to add this:
<div class="container">
<div class="row">
<div class="col-md-3 col-sm-4 col-xs-6"><a href=" " data-lightbox="AI2013"><img class="img-responsive" src=" "></a></div>
<div class="col-md-3 col-sm-4 col-xs-6"><a href=" " data-lightbox="AI2013"><img class="img-responsive" src=" "></a></div>
<div class="col-md-3 col-sm-4 col-xs-6"><a href=" " data-lightbox="AI2013"><img class="img-responsive" src=" "></a></div>
</div>
</div>
Here's why: Bootstrap has natural containers to make little thumbnails--so that's why you add the container. If you just list the images, they would be displayed vertically in a column. So that's why you add the row!
The next line is GENIUS!--and I have to say I got my inspiration to perfect it from Ross Santos' blog "How to add "Light Box" feature to your images on your site." You will be repeating this line for each and every image.
The first div class essentially tells the page how to set up columns and rows of pictures and also have them be responsive. The <a href> part tells the page that if you click on this image, here's what you want the page to do. You would insert the link to picture #1 between the " " marks AND it tells the page that you want each picture to use HigherLogic's built in Lightbox (In case you don't know, Lightbox will pop open the larger image if you click on the smaller thumbnail...and it already contains Previous and Next little arrows)! Since all of the photos are going to be in one album, the part where I put "AI2013" you would put your photo album name. Finally the <Img> part tells the page which images you want to display as thumbnails. This part says that you want the thumbnails to be responsive, and again, you would insert the link to picture #1 between the " " marks. All the rest essentially just closes what you opened.
Sooo...filled in, here's what a couple of the lines look like:
<div class="col-md-3 col-sm-4 col-xs-6"><a href="https://higherlogicdownload.s3.amazonaws.com/AISAP/9240e0fb-b3b1-451a-85f4-ae549c79acf1/UploadedImages/MtVernonPresby-Admissions.jpg" data-lightbox="AI2013"><img class="img-responsive" src="https://higherlogicdownload.s3.amazonaws.com/AISAP/9240e0fb-b3b1-451a-85f4-ae549c79acf1/UploadedImages/MtVernonPresby-Admissions.jpg"></a></div>
<div class="col-md-3 col-sm-4 col-xs-6"><a href="https://higherlogicdownload.s3.amazonaws.com/AISAP/9240e0fb-b3b1-451a-85f4-ae549c79acf1/UploadedImages/AISAP_Spring_2014_IMG_3626-XL.jpg" data-lightbox="AI2013"><img class="img-responsive" src="https://higherlogicdownload.s3.amazonaws.com/AISAP/9240e0fb-b3b1-451a-85f4-ae549c79acf1/UploadedImages/AISAP_Spring_2014_IMG_3626-XL.jpg"></a></div>
It may sound hard, but here's the way I did it. I added the divs for the container and row, then I added the IMAGES div line about ten times, and saved it without the inserted image links, so that all I have to do is keep adding that line to add an image to album. Thus, all I'm doing really is adding the image link in the two places and moving on to the next line!
Obviously...SAVE THIS PAGE often!!
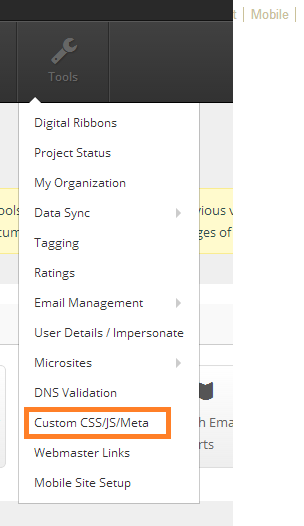
Fourth, we have all the HTML set up and going...so in this step we are going to tell HigherLogic that we went to use Lightbox. Again, I got this inspiration from Ross' blog. Go to CCAdmin>Tools and then select Custom CS/JS/Meta.
Under "Custom CSS", add this link:
http://s3.amazonaws.com/higherlogiccloudfront/Custom/LightBox/lightbox.css
Under "Custom Javascript" add this link:
http://s3.amazonaws.com/higherlogiccloudfront/Custom/LightBox/lightbox-2.6.min.js
If there are multiple url links, make sure to separate it with " | " like this:

Click Save and it should be set!
Finally as an example of what this will all look like: http://www.aisap.org/communities/libraries/institute-2013-photos Click on any one of the photos and you'll see Lightbox "do its thing"! Enjoy!
#Photos#CSS #Homepage Design